Showing posts with label Canes. Show all posts

23 February 2013

Decoden! (in the process...)

Well, I decided to do some more decoden. I still had quite a lot of silicone 'whipped cream' from my last box. In this post I'm going to be showing pictures of how it looked as I made it, with a few tips and techniques.

So, I took this box that I got a long long LONG time ago when my dad bought me a watch (that I've definitely had since before I was thirteen because it has leather on it, nowadays leather makes me throw up). I tend to keep boxes like this because they're good for keeping stuff in, I use this one mainly for hair pins.
from the side :) I really like the pattern on this box, it's really
pretty!
Here comes the 3D paint! I'm using Tulip. I suppose this is like icing? I'm not exactly sure what I should call it. I painted some over the top, then painted some dripping down the sides.

As you can see, I didn't make the drips too big! I was frightened that if I did it would become another failure box :( Also, I need to leave some room just in case this box requires a ribbon. No, I don't decide to add a ribbon. The box does.

NOW FOR THE BEST PART!!!! (if you like piping chocolate stuff on your box, that is)

I've Improved lol! It looks a lot better than my last box. (feels proud) I suppose you could just leave it like this, but I'm putting cabochons on it. And rhinestones. Not to forget the pearls. Oh, and cane slices. Maybe even a few beads.
 Now, this is why you DO NOT try to attack Sapphire's crafts. I originally had a bow in the middle, but my sister decided to rip it off! So, she now knows very well why you don't try to destroy my Decoden. I ended up staying up really late to correct it... (yawns)


So this is what it looks like now I've cleaned the paint up a bit. I know very well that I could have waited until the morning to sort is out, but no. Of course not. 

So, anyway, I used all the same things that I used last time, except for one thing. I used some cabochons that I had made out of air dry clay. I used Fimo Air. I haven't tried any other types of air dry clay, but I really like this one. 

On another note, my mum decided to buy all this cereal.

Fortunately, I love cereal. With skimmed milk of course, anything else is just too creamy for me. Yes, I am a little strange, aren't I?

10 February 2013

Another Decoden Box!


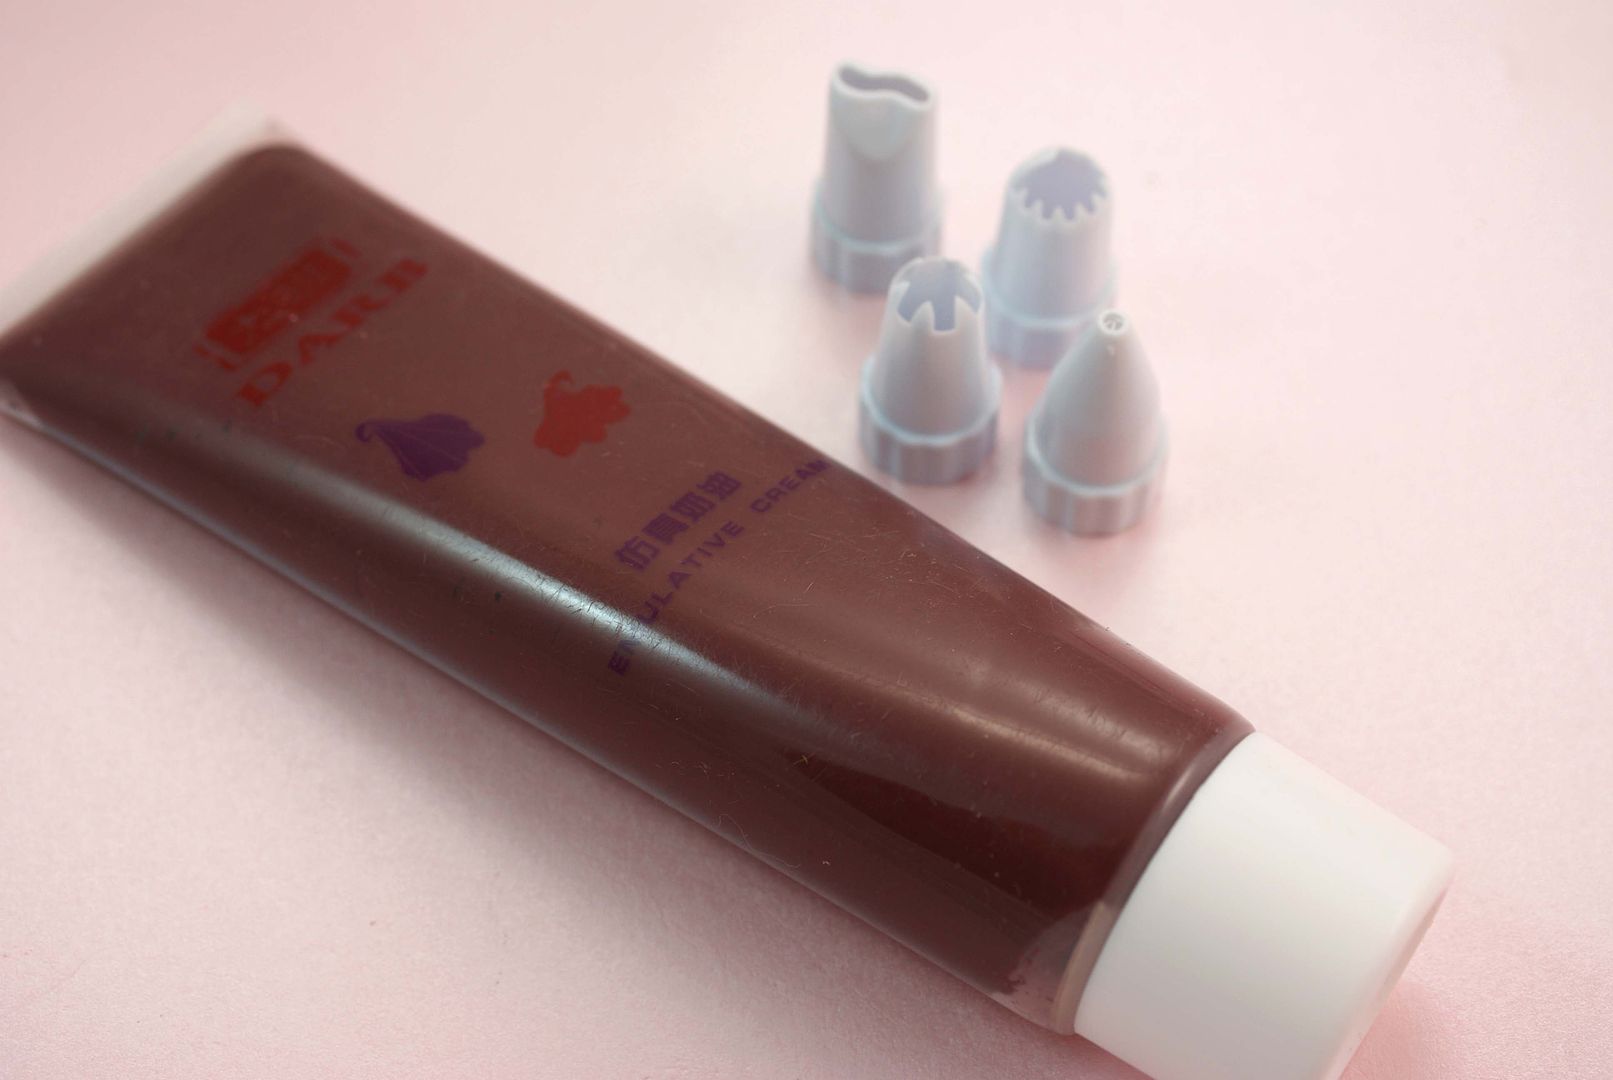
So I managed to get some silicone! And not the stuff that belongs on tiles and in walls :) The only problem was, it didn't stick very well at all so it was pretty much impossible to pipe on to the box at first. I felt a little ripped off lol. I did get it to work in the end though, and I think it came out quite well for my first time using silicone. And, another plus to not using the stuff that belongs in walls, it didn't stink at all! In fact, it was pretty much odourless.

Here's what I used to make it:


  • Silicone (of course). As already mention, it wasn't sealant or caulk. That stuff belongs in walls, for a start. It won't last if you use it for Decoden... it'll get dirty and don't forget it absolutely stinks. Anything that smells that bad is obviously bad for your health! Anyway, the stuff I used was made purposely for Decoden (like I'd use anything that wasn't!). I got it from Ebay, but it's not in stock any more. In fact, when I bought it there was only brown left. But I would've bought this colour anyway.
  • 3D paint. The brand I use is Tulip, mainly because it's the easiest one for me to get.
  • Polymer clay. I used it to make the charms or 'cabochons' whatever you call them. Most of them I'd made ages ago, but hadn't used for anything. So they got recycled. Oh, and I used a few cane slices I'd baked too. I even put a few Union flags on it, just to show people that just because you're interested in something that originated in Japan, you're not so obsessed with Japan that you wish you were Japanese and hate your own nationality for it lol.
  •  Rhinestones and pearls (with flat backs). I had to use the tiniest ones I could find of course. I also used a few of the slightly bigger coloured ones as well. 
I think I forgot something!
  • An old box that I keep my shop bought stud earrings in. A long time ago, I bought some earrings and this is what they came in. And some how, I ended up keeping all of my stud earrings in. Well, it's better than keeping them where they can get lost or stab you in the hand/foot. 
So, I'm quite proud of it for my first attempt at decoden with silicone! If you like the look of decoden, you should really give it a try.

Edit: I've added a bit more on to the box now! 

There were a few gaps in the silicone so I decided to fill them in. I also decided to add on a ribbon! I love it :D. I got the ribbon from a craft shop, and used a glue gun to stick it on. If you don't already have one, I got mine from Wilkinsons. I don't know if you have that shop outside of the UK, but any glue gun will do really. Most of the glue guns I've seen aren't really that expensive, but the majority don't come with the actual glue sticks. You can get the glue sticks from craft shops, DIY shops... and the packs they come in do contain a decent amount of glue. You don't have to just settle for clear glue either: you can get the glue sticks in all different colours and you can even get shiny ones with glitter.

I never actually took the label off of that box. Well, there's no way it's coming off now! 

30 December 2012

Dragon Fruit cane

I love dragon fruit, or any exotic fruits really :) Unfortunately, I'm the only one in my family who likes them!

(picture found online)
Here's what they look like, in case you haven't seen one before. I know it might sound strange,but a lot of people I know have never even heard of dragon fruit! You eat them in a similar way to how you would eat a kiwi fruit: you basically cut them in half then take out the fruit. They taste quite similar to kiwi fruit, they're a little bland but sweet. The fruit has a soft and slightly slimy texture, but there's also lots of tiny seeds in fruit.
Anyway, I've only seen ones with white fruit before, but you can also get them with purple fruit. I don't know if they taste any different.


Now we've got that out the way, let's start with the tutorial! 

We're going to be needing the following colours: black, translucent, and a bright pink colour mixed with a little white.


Start by rolling out the black. then cut it in to equal size pieces.

What I did with the translucent clay, I rolled it in to a ball then flattened it out. Then I cut it in to quarters. I rolled out one of the pieces and used it for the centre. I put 4 rolls of black clay around it. Then wrap it up.
Keep doing this until you've used up all of translucent clay quarters.


Now we've finished making the fruit :) Now for the flesh. Take your pink clay and roll it out. Wrap it around the clay (or 'pack' the clay) and reduce it in to a cane (start by using your fingers to reduce/squeeze it down and after that you roll it).


Now you cut the ends of carefully with a good blade. Don't just push the blade down or you'll mess up your cane (typical beginner mistake!). Instead, sort of roll the cane with the blade as you push in through gently. 


And, you're done :D When you bake the slices, the white part will go translucent. Sorry, I don't have a picture of a baked slice just yet.

I don't recommend baking the cane unless you know what you're doing. If you want to use it for Decoden or nail art, I think it'll be best if you make as much slices as you think you'll need and bake them as normal.

30 September 2012

Polymer clay canes

I can't be bothered to make any tutorials today... But here are my canes :)

I'm going to make some tutorials on how to make some of them in the future. I hate people who buy them off of the internet! (No offence if you do!) They're so EASY to make. Yes that's right, you MAKE them.

Anyway, before I start myself on a rant, I've decided to make some tips on how I get my canes to work!

Another thing is: I don't bake them, I keep them in a box, It doesn't matter if the sides get dirty.

How to cut canes

At first, I started with circular ones because they're easier to slice. You have to roll the cane with your blade as you cut it, and then it shouldn't deform as badly. If you just push the blade straight through it, it might make the slices go a weird shape, and in some cases, the colours might mix. You don't want that to happen!
With square/rectangular canes, there isn't exactly loads you can do except push the blade through slowly. You might have to reshape the cane with your fingers every now and then. For triangular canes, such as the strawberry cane, slice it down from one of the points. Again, you might have to reshape the cane sometimes.

You can make heart shape canes too, but the problem is (see my purple heart cane), they might end up making a triangle shape. If you want, you can use clay to make the edges of the cane rounded so it's easier to slice.

19 August 2012

Millefiori canes

I've been watching Italian polymer clay videos lately! There are some Italian girls on YouTube that are pretty much perfect at making canes and jewellery...

Anyway, I've been inspired :)
Here are some of the Millefiori canes I've made. You can't exactly see them very well in this picture. They're not nearly as good as some of the people I've seen... But they're a start, I guess (and they're better than my very first canes).

I made the one in the middle quite a long time ago, actually. I made the other two on Tuesday and Wednesday...


I haven't put a cord on this yet...


I also made these pendants and earrings using these canes :)
Anyway, these are pretty straight forward to make, and you don't have to just use Millefiori canes to make them. You can use fruit canes too :) So if you only have fruit canes, and you don't want to make anymore, I'm sure it'll look great using fruit canes. The only problem is, if you bake your canes, it might not work. 

What I did was, I made my cane, then used the waste clay from making the cane to make the shape of the pendant/bead/earrings. Then I took slices from my canes and put them on the pendant, and used a rolling pin/rolled them so the slices looked like they were part of the design. Then I baked them and made them in to the jewellery :)

If you're interesting, have a look at these YouTube channels (sorry the channels are Italian). SweetBioDesign and MissiClaus. I suppose those two are like the best I can find right now since my computer's being slow...