23 February 2013

Decoden! (in the process...)

Well, I decided to do some more decoden. I still had quite a lot of silicone 'whipped cream' from my last box. In this post I'm going to be showing pictures of how it looked as I made it, with a few tips and techniques.

So, I took this box that I got a long long LONG time ago when my dad bought me a watch (that I've definitely had since before I was thirteen because it has leather on it, nowadays leather makes me throw up). I tend to keep boxes like this because they're good for keeping stuff in, I use this one mainly for hair pins.
from the side :) I really like the pattern on this box, it's really
pretty!
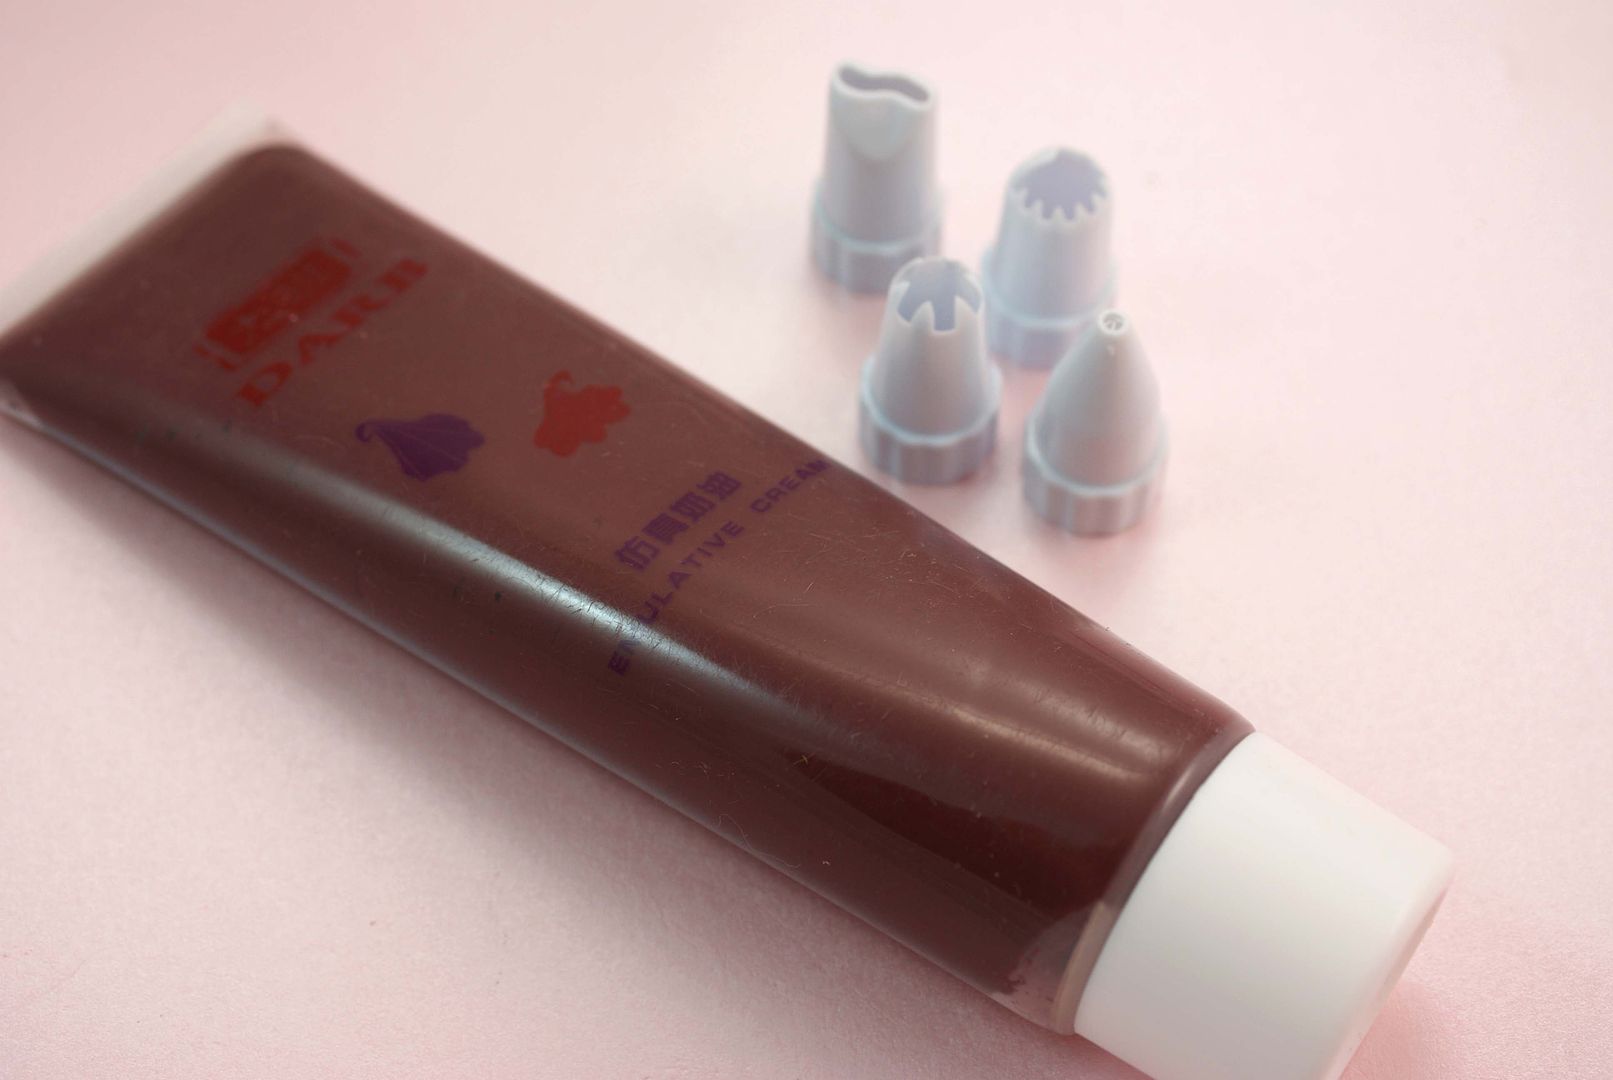
Here comes the 3D paint! I'm using Tulip. I suppose this is like icing? I'm not exactly sure what I should call it. I painted some over the top, then painted some dripping down the sides.

As you can see, I didn't make the drips too big! I was frightened that if I did it would become another failure box :( Also, I need to leave some room just in case this box requires a ribbon. No, I don't decide to add a ribbon. The box does.

NOW FOR THE BEST PART!!!! (if you like piping chocolate stuff on your box, that is)

I've Improved lol! It looks a lot better than my last box. (feels proud) I suppose you could just leave it like this, but I'm putting cabochons on it. And rhinestones. Not to forget the pearls. Oh, and cane slices. Maybe even a few beads.
 Now, this is why you DO NOT try to attack Sapphire's crafts. I originally had a bow in the middle, but my sister decided to rip it off! So, she now knows very well why you don't try to destroy my Decoden. I ended up staying up really late to correct it... (yawns)


So this is what it looks like now I've cleaned the paint up a bit. I know very well that I could have waited until the morning to sort is out, but no. Of course not. 

So, anyway, I used all the same things that I used last time, except for one thing. I used some cabochons that I had made out of air dry clay. I used Fimo Air. I haven't tried any other types of air dry clay, but I really like this one. 

On another note, my mum decided to buy all this cereal.

Fortunately, I love cereal. With skimmed milk of course, anything else is just too creamy for me. Yes, I am a little strange, aren't I?

17 February 2013

Triple layer bracelet!

Yeah, there's a big story behind why I decided to make this! So, my sister bought a bracelet at her school one day (they were having a Summer fair), and I thought it looked really cool and decided to make one! I searched the internet, in the hope I would find a tutorial, but nothing. I really could not find any tutorials. Obviously, other people had had the same idea, because I was finding pictures that looked very similar to it. So, rather than giving up (I'm just too stubborn!), I had a good look at my sister's bracelet and realised it really wasn't a very difficult thing to make at all. I decided to get all of my stuff together and make one myself! I had to make some of the beads myself, and this of course had a nasty effect on my lovely bead collection (I literally had to use all of them!).

So, here are a few beautiful picture of my arm I mean, my bracelet:


I like the way this angle of my arm looks for some reason...
And one with out my arm:

Sorry for the blurry-ness!
As you can see, it just won't stand up on it's own. I think this is because of the cord I used, but I don't think it really matters. Here's a picture of it next to my sister's bracelet (I didn't steal it btw, she let me borrow it for my blog!):

I love the way they both look together! they are both very colourful. I don't normally wear very bright jewellery, but I love these bracelets. They are very good for stacking bracelets, and I'm definitely the sort of person who likes to wear lots of bracelets at once. However, I haven't really worn this bracelet much. It just doesn't match the sort of clothes I wear. I'll probably be selling it at some point in the future, in fact. Not that I don't like it, it just isn't really me.

Anyway, I do plan on making a tutorial on the pattern for this at some point! I just don't have enough beads left at the moment to make another one. So watch this space! :D

10 February 2013

Another Decoden Box!


So I managed to get some silicone! And not the stuff that belongs on tiles and in walls :) The only problem was, it didn't stick very well at all so it was pretty much impossible to pipe on to the box at first. I felt a little ripped off lol. I did get it to work in the end though, and I think it came out quite well for my first time using silicone. And, another plus to not using the stuff that belongs in walls, it didn't stink at all! In fact, it was pretty much odourless.

Here's what I used to make it:


  • Silicone (of course). As already mention, it wasn't sealant or caulk. That stuff belongs in walls, for a start. It won't last if you use it for Decoden... it'll get dirty and don't forget it absolutely stinks. Anything that smells that bad is obviously bad for your health! Anyway, the stuff I used was made purposely for Decoden (like I'd use anything that wasn't!). I got it from Ebay, but it's not in stock any more. In fact, when I bought it there was only brown left. But I would've bought this colour anyway.
  • 3D paint. The brand I use is Tulip, mainly because it's the easiest one for me to get.
  • Polymer clay. I used it to make the charms or 'cabochons' whatever you call them. Most of them I'd made ages ago, but hadn't used for anything. So they got recycled. Oh, and I used a few cane slices I'd baked too. I even put a few Union flags on it, just to show people that just because you're interested in something that originated in Japan, you're not so obsessed with Japan that you wish you were Japanese and hate your own nationality for it lol.
  •  Rhinestones and pearls (with flat backs). I had to use the tiniest ones I could find of course. I also used a few of the slightly bigger coloured ones as well. 
I think I forgot something!
  • An old box that I keep my shop bought stud earrings in. A long time ago, I bought some earrings and this is what they came in. And some how, I ended up keeping all of my stud earrings in. Well, it's better than keeping them where they can get lost or stab you in the hand/foot. 
So, I'm quite proud of it for my first attempt at decoden with silicone! If you like the look of decoden, you should really give it a try.

Edit: I've added a bit more on to the box now! 

There were a few gaps in the silicone so I decided to fill them in. I also decided to add on a ribbon! I love it :D. I got the ribbon from a craft shop, and used a glue gun to stick it on. If you don't already have one, I got mine from Wilkinsons. I don't know if you have that shop outside of the UK, but any glue gun will do really. Most of the glue guns I've seen aren't really that expensive, but the majority don't come with the actual glue sticks. You can get the glue sticks from craft shops, DIY shops... and the packs they come in do contain a decent amount of glue. You don't have to just settle for clear glue either: you can get the glue sticks in all different colours and you can even get shiny ones with glitter.

I never actually took the label off of that box. Well, there's no way it's coming off now! 

9 February 2013

Polymer clay Plumeria Flower tutorial (re-made!)

Real Plumeria flowers (I didn't make these lol)
So I've decided to re-make my tutorial on how to make Plumeria flowers! My first plumeria flower tutorial looks a bit messy to me now :( 

Here goes, then! You will need: clay (in one colour), a craft knife or blade, a teaspoon (that you will only use for clay) and chalk (or acrylic paint). You could also add a scent to make it smell all flowery and realistic.
1. First you need to condition your clay. You can either use your fingers, a pasta machine or a rolling pin. This part is probably the most important. Tip: If you're using white or light coloured clay, try not to touch it as much as you can. This will help keep the clay as clean as possible.

Optional: if you want, you can add a scent at this point. Just mix it in to the clay.

2. Roll out the clay and cut in to 5-6 pieces. Try to make them as equal as you can, but don't worry too much if some of the pieces are slightly bigger/smaller. Flowers don't all have perfect petals!

Here's pictures of how I did it: first I rolled it out, then cut it, and rolled each piece in to a ball.

3. Now for the fun part! Well, if you count squishing clay with a spoon as fun, at least.

This part is critical for giving the petals their shape! You have to squish the ball down and use the spoon to give it it's shape. When you pull it off of the back of the spoon, it will have a curved shape like the real petals. Do this with each individual ball.  Tip: if you don't have a teaspoon available (possibly because you need them for food), you can use your fingers and a paint brush. It's a little harder, but it can be done like that.

4. Now what you need to do is arrange the petals in to a flower shape. Use TLS or the Studio by Sculpey Bake & Bond Adhesive to stick the petals together.


5. This is optional, but I'll assume most people won't want to leave this bit out. You can either use chalk to add the second colour or acrylic paint (but you have to bake it first if using paint). Start by adding the colour in the centre, then use your brush to push it out. You can put in an eye pin now if you want.


Now blogger is annoying me... It won't let me add my picture how I want it to... lol. Anyway, I made a little mistake with that one, and used a brush I hadn't cleaned properly. So it went all sorts of crazy colours! All is not lost though - I can still paint it now it's baked! I'll add the picture later :D

Here's a picture of one I made a while ago (sorry for bad quality). I used purple chalk, then painted over the backs of the petals with white acrylic paint, so you can do something like that if you want!